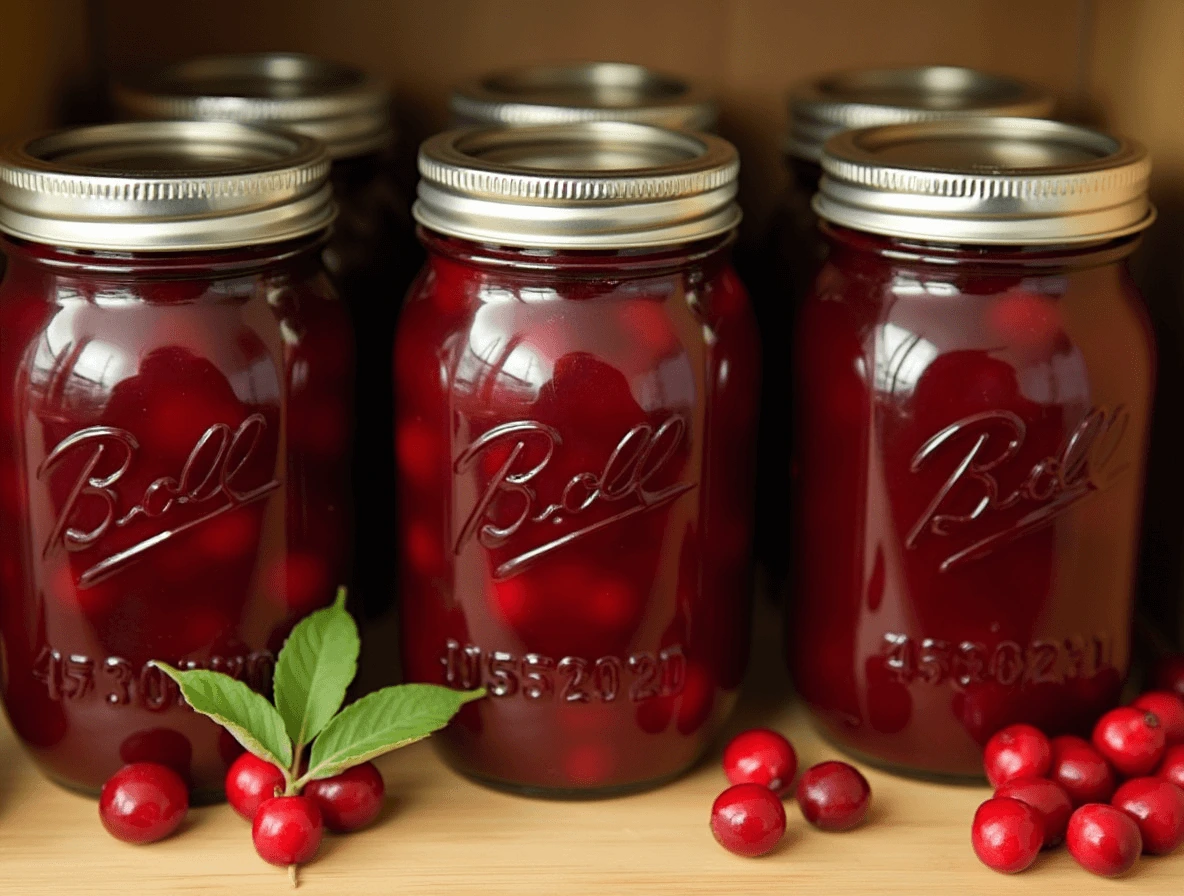
Cranberries are packed with antioxidants, vitamins, and health benefits, making them a great choice for a nutritious and refreshing juice. Canning cranberry juice at home not only preserves its rich nutrients but also allows you to control the sweetness and avoid artificial additives.
In this comprehensive guide, you’ll learn the step-by-step process of canning cranberry juice, its health benefits, and essential safety tips to ensure the best quality and flavor.
Table of Contents
Health Benefits of Cranberry Juice
Cranberry juice is rich in antioxidants, particularly vitamin C and polyphenols, which help protect cells from damage and support overall health. It’s widely known for promoting urinary tract health by preventing bacteria from sticking to the bladder wall, reducing the risk of infections.
- Supports Urinary Tract Health – Prevents bacteria from causing infections.
- Boosts Immunity – High in vitamin C to fight colds and infections.
- Promotes Heart Health – Helps lower blood pressure and improve cholesterol.
- Rich in Antioxidants – Helps combat free radicals and reduces inflammation.
- Enhances Oral Health – Reduces bacteria that cause cavities and gum disease.
Why Homemade Cranberry Juice Is Better Than Store-Bought
While commercial cranberry juice is widely available, it often falls short in quality. Many brands contain added sweeteners, artificial flavors, and preservatives that alter the juice’s natural taste and health benefits.
- No Unnecessary Additives – Homemade cranberry juice contains only the ingredients you choose, free from high-fructose corn syrup or synthetic preservatives.
- Pure and Potent Flavor – Freshly canned juice retains the bold, tart essence of cranberries, unlike mass-produced versions that may be diluted with water or apple juice.
- Higher Antioxidant Content – The pasteurization process used in commercial juices can reduce the potency of key antioxidants. Homemade juice preserves more of the fruit’s natural phytonutrients.
- Sustainability – Canning your own juice reduces plastic waste from store-bought bottles and allows you to use reusable glass jars.
- Dietary Control – Whether you prefer sugar-free juice, a touch of honey, or a blend with other fruits, homemade canning allows you to cater to your dietary needs.
Choosing the Right Cranberries
The Best Cranberry Varieties for Canning
Not all cranberries are created equal, especially when it comes to canning. Some varieties yield a richer flavor, while others boast a more vibrant color or higher natural sugar content. The most widely available variety in North America is the Vaccinium macrocarpon, commonly found in commercial cranberry bogs. These berries have a tart profile that balances well when sweetened, making them ideal for canning.
For those seeking a slightly sweeter option, Stevens cranberries—a hybrid known for its plump size and deep red hue can enhance the juice’s natural richness. If you prefer a more traditional, tangy cranberry taste, Howes cranberries, one of the oldest cultivated varieties, hold their shape well and impart a crisp, clean flavor.
Wild cranberries, though smaller, pack an intense tartness that creates a more robust juice. While harder to find in stores, they are a great option for those who enjoy foraging or purchasing from specialty markets.
How to Select Fresh, High-Quality Cranberries
The secret to exceptional cranberry juice lies in starting with the best fruit. Look for cranberries that are firm to the touch, as softer berries indicate overripeness or potential spoilage. A simple freshness test involves dropping a berry onto a hard surface—if it bounces, it’s good to go.
Vibrant, ruby-red cranberries typically have the best balance of acidity and natural sweetness. However, a mix of deep red and slightly lighter berries is normal and won’t impact the flavor significantly. Avoid any with wrinkles, dark spots, or signs of mold, as these imperfections can affect the quality of your juice.
If possible, source cranberries directly from local farms or farmers’ markets during the peak harvest season, which runs from September through November. Freshly harvested berries contain more juice and fewer preservatives than those that have been sitting in cold storage for months.
For those planning to can cranberry juice outside of harvest season, frozen cranberries can be a viable alternative. Just ensure they are free from ice crystals or freezer burn, as these can compromise the flavor and texture.
Ingredients & Equipment
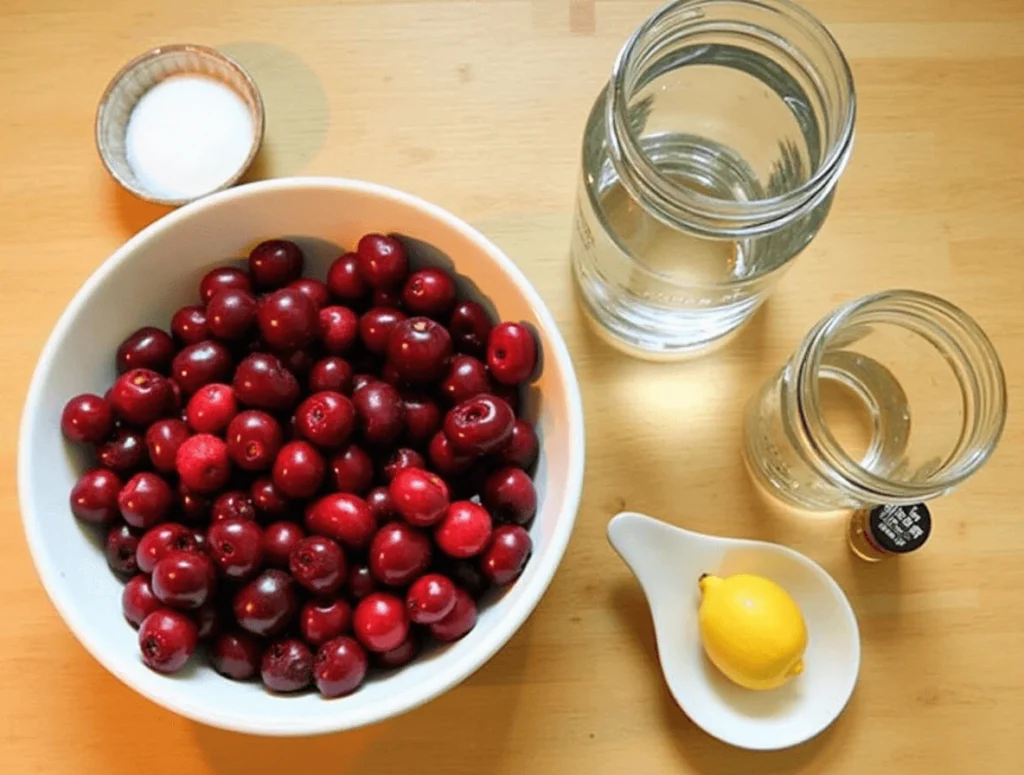
Ingredients:
- 5 cups of fresh or frozen cranberries
Fresh or frozen cranberries are the key ingredient for this juice. Choose ripe, firm berries, as their natural tartness gives the juice its distinctive flavor. Frozen cranberries are a good alternative and are often picked at their peak, preserving their nutrients.
- 4 cups of water
Water is essential to extract the juice from the cranberries, balancing the concentration and consistency. Use clean, filtered water to maintain the purity and flavor of the juice.
- Sugar or natural sweetener (optional, to taste)
Since cranberries are tart, you may want to sweeten the juice. You can use sugar or natural alternatives like honey or stevia. Add sweetener gradually.
Equipment:
- Sterilized canning jars with lids
Sterilized glass jars are necessary for storing your cranberry juice. Ensure the jars and lids are free from bacteria by boiling them for 10 minutes before use. Securely sealed jars prevent spoilage and preserve the juice for months.
- Large cooking pot
A large cooking pot is required to boil the cranberries and extract their juice. A heavy-bottomed pot distributes heat evenly, preventing burning, and provides enough space for the ingredients to cook properly.
- Fine mesh strainer or cheesecloth
After cooking the cranberries, Use a mesh strainer or cloth to remove the pulp. This ensures a smooth, clear juice free of solids or seeds.
- Water bath canner
A water bath canner is necessary for safely sealing and preserving your cranberry juice. The canner helps sterilize the jars and creates a vacuum seal, ensuring your juice lasts for months.
Step-by-Step Guide to Canning Cranberry Juice
1. Prepare the Cranberries
Begin by thoroughly rinsing the cranberries under running water. This step removes any dirt, debris, or residues from the berries. If you’re using frozen cranberries, allow them to thaw completely before use to make the extraction of juice easier. It’s important to ensure the cranberries are clean and free from any damaged or mushy berries, as these can affect the quality of your juice.

2. Extract the Juice
Next, place the cranberries and water into a large pot. For every 5 cups of cranberries, add 5 cups of water. Bring the mixture to a boil over medium heat, then reduce the heat and let it simmer for 10-15 minutes. During this time, the cranberries will burst and soften, releasing their juice. Stir the mixture occasionally . Once the cranberries have softened, use a fine mesh strainer or cheesecloth to strain the mixture, separating the juice from the pulp. Gently press the solids to extract the maximum amount of juice.
3. Sweeten the Juice (Optional)
Once you’ve strained the juice, pour it back into the pot. Taste the juice and determine whether you’d like to sweeten it. Cranberries are naturally tart, so adding sugar or a natural sweetener can help balance the flavor. Add the sweetener gradually, stirring it in until it fully dissolves. For a healthier option, consider using honey, agave syrup, or stevia instead of refined sugar. The amount of sweetener depends on your taste preferences, so adjust accordingly.
4. Sterilize the Jars
Before filling the jars with your cranberry juice, sterilize them to ensure they’re free of bacteria and contaminants. Place the canning jars and lids into a pot of boiling water and let them boil for 10 minutes. This will kill any microorganisms that could cause spoilage. Once sterilized, remove the jars and lids carefully using tongs and set them aside to dry completely.
5. Fill the Jars
Once the jars are sterilized and dry, carefully fill each jar with the cranberry juice, leaving about a half-inch of space at the top to allow for expansion during the canning process. It’s important not to overfill the jars, as this can cause the lids to not seal properly. Wipe the rims of the jars with a clean, damp cloth to remove any juice or residue that could interfere with sealing.
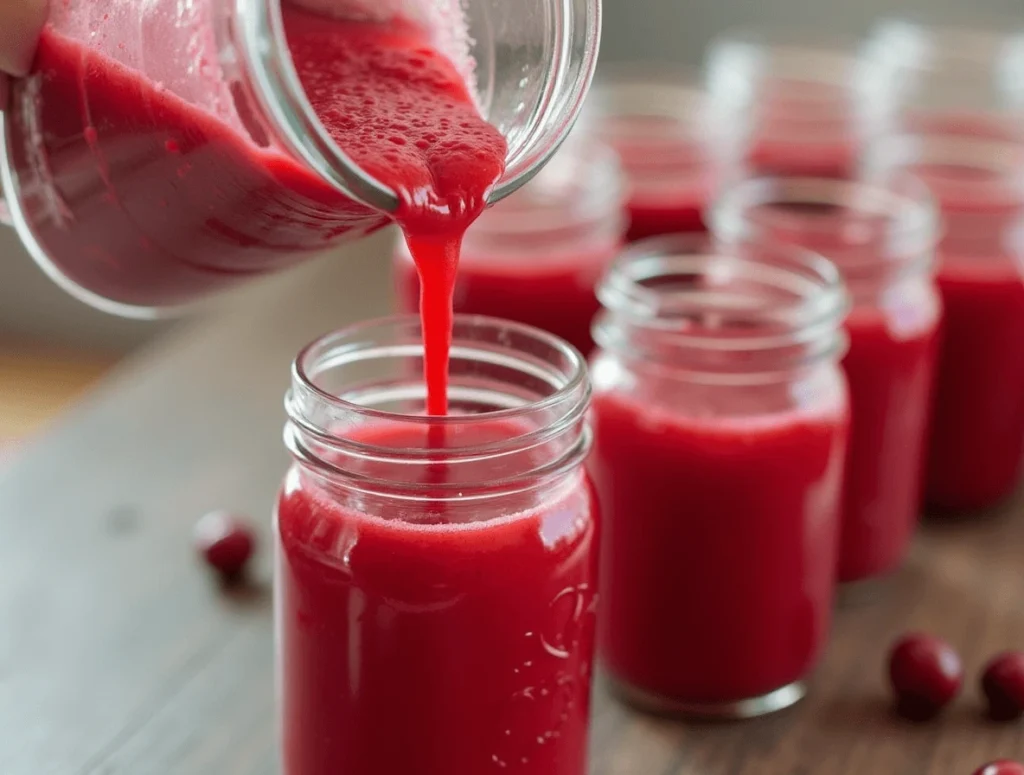
6. Process the Jars in a Water Bath
Submerge the filled jars into a water bath canner. Make sure the jars are fully submerged in hot water, with at least an inch of water above the lids. Bring the water to a boil and process the jars for 15-20 minutes. This step helps to sterilize the juice and create a vacuum seal, ensuring the jars are airtight and safe for long-term storage. Once the processing time is complete, turn off the heat and carefully remove the jars using a jar lifter.
7. Cool and Store
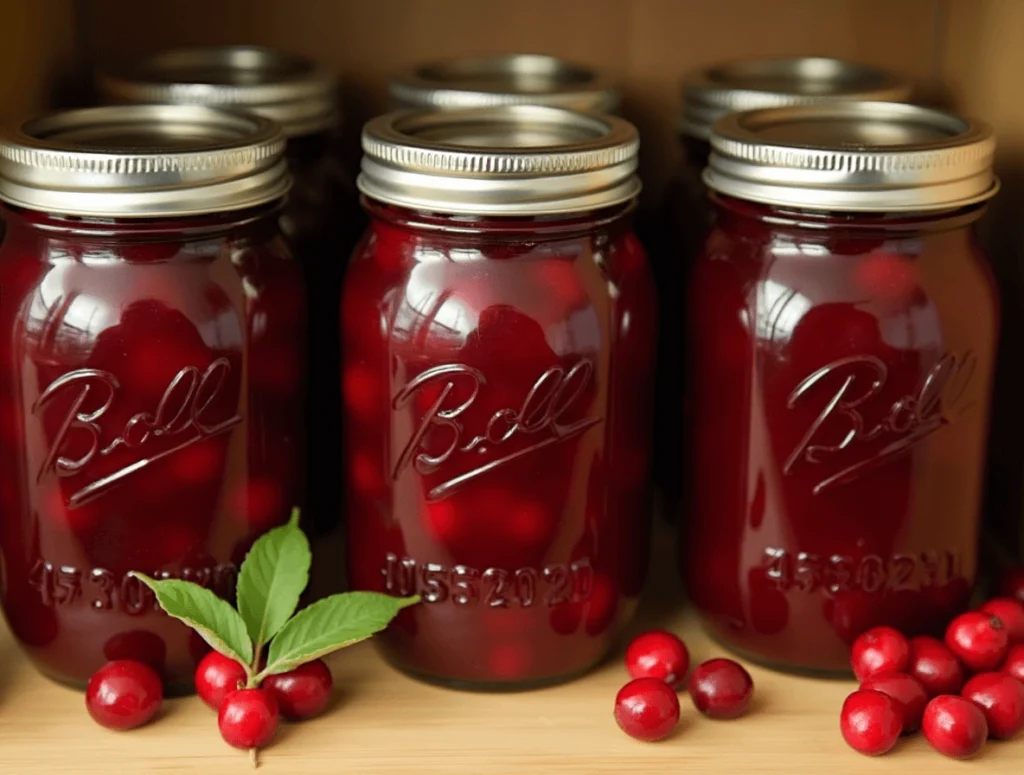
Allow the jars to cool on a clean towel or cooling rack. As they cool, you’ll hear a popping sound, which indicates the jars are sealing properly. Check the seals by pressing down on the center of each lid; if it doesn’t pop back, the jar is sealed. Once completely cooled, store the jars in a cool, dark place, such as a pantry or cupboard. Properly sealed jars of cranberry juice can be stored for up to a one year.
Tips for Safe and High-Quality Canning
Ensure Proper Sterilization – Boil jars and lids for 10 minutes to kill bacteria. Work on a clean surface and avoid touching jar interiors to prevent contamination.
Use Fresh, High-Quality Cranberries – Choose firm, deep-red berries. Avoid shriveled or blemished ones. Frozen cranberries should be unsweetened and free of freezer burn.
Follow Correct Canning Procedures – Maintain the appropriate temperature, allow half an inch of space, and ensure the lids are tightly closed. A sealed lid will not bend when pressed.
Adjust Processing Time for Altitude – Higher altitudes may require longer processing times.
USDA Guide to Home Canning – Safe canning practices.
Common Mistakes & How to Fix Them
1.Cloudy Juice?
Let the juice settle before straining. Use a fine mesh strainer or cheesecloth to remove pulp. Avoid excessive stirring while cooking.
2.Lids Didn’t Seal?
Wipe jar rims before sealing. Tighten lids just enough—too tight traps air. Process in a boiling water bath and check seals after cooling.
3.Juice Tastes Off?
Use fresh, high-quality cranberries. Avoid aluminum cookware, which affects flavor. Sweeten gradually to balance tartness.
Follow these tips for clear, flavorful canned cranberry juice with a perfect seal.
FAQs About Canning Cranberry Juice
1. Can I use frozen cranberries?
Yes, you can use frozen cranberries for canning cranberry juice. Ensure they are unsweetened and fully thawed before use. Frozen berries retain their tart flavor and nutrients, making them a great option for homemade cranberry juice.
2. How long does canned cranberry juice last?
Properly sealed and stored, cranberry juice extends its shelf life up to 12 months in a cool, dark place. Once opened, refrigerate and consume within 7–10 days for optimal freshness and flavor retention. Always check for spoilage before use.
3. Can I reduce the sugar or use alternative sweeteners?
Yes, you can reduce sugar or use alternative sweeteners when cranberry juice. Options like honey, stevia, or maple syrup work well. However, some substitutes may alter taste, acidity, or shelf life, so adjust accordingly for safe preservation.
How long does cranberry juice have to sit after canning?
After cranberry juice, let the jars sit undisturbed for 12-24 hours to ensure a proper seal. For the best flavor, allow the juice to rest for at least two weeks, letting the tartness mellow and deepen in richness.
How long does it take to process canned cranberry sauce?
Processing time for canned cranberry sauce typically takes 15 minutes in a boiling water bath. However, altitude adjustments are necessary. Proper sealing ensures longevity, preserving freshness just like canning cranberry juice, which follows similar sterilization and processing techniques.
Can I make this cranberry juice sweeter or more sour?
Yes, you can adjust the flavor of cranberry juice by adding more sugar or a natural sweetener to make it sweeter. For a tangier taste, increase the amount of fresh lemon juice or citric acid.
Can homemade cranberry juice be water bath canned?
Yes, homemade cranberry juice can be water bath canned. Ensure proper sterilization and sealing of jars before processing. This method preserves the cranberry juice for long-term storage while maintaining freshness and flavor.
More Recipe
Green Smoothie Recipe – A healthy way to use cranberry juice.
Apple Cider Mocktail – A festive drink that pairs well with cranberries.
The Joy of Preserving Cranberry Juice for Every Season
There’s something truly magical about the process of canning cranberry juice—it’s more than just a preservation technique; it’s a way to capture the essence of nature and enjoy it throughout the year. Imagine opening a jar of homemade cranberry juice months after the season has passed, pouring a glass of its deep red richness, and tasting that vibrant balance of tartness and sweetness as if the berries were freshly picked. That’s the beauty of home canning—it allows you to savor the pure flavors of real fruit, untouched by artificial additives or excess sugar, whenever you please.
Beyond the joy of having a refreshing drink at your fingertips, homemade canned cranberry juice brings a sense of connection to tradition. For generations, people have preserved their harvests, ensuring that nothing goes to waste and that nutritious, homemade food remains accessible year-round. There’s something deeply satisfying about sealing up a batch of juice, knowing that you’ve created something wholesome and nourishing for yourself and your loved ones. It’s a small yet meaningful way to embrace a sustainable lifestyle, reducing reliance on store-bought products and cutting down on unnecessary packaging.
Moreover, the versatility of canned cranberry juice makes it even more rewarding. You can enjoy it chilled on a hot summer day, warm it up with spices for a cozy winter drink, or mix it into cocktails and mocktails for special occasions. Its bold, tangy flavor also makes it an excellent addition to smoothies, salad dressings, and even marinades. With just a little effort and the right technique, you’re not just making juice—you’re creating a timeless ingredient that enhances your kitchen in countless ways.
So, whether you’re an experienced home canner or just starting, the process of canning cranberry juice is one that offers immense rewards. It’s a skill that allows you to enjoy the goodness of cranberries in their purest form, bringing both health benefits and culinary delight. As you store away each jar, you’re not just preserving juice you’re bottling up a little piece of nature, a moment of care, and a taste of something truly special.
Final Thoughts
Canning cranberry juice is an easy, rewarding process that ensures you have delicious, homemade juice available all year. By following the steps outlined in this guide, you can preserve freshness, avoid spoilage, and enjoy a healthier alternative to store-bought juice.
Have you tried canning cranberry juice? Share your experience in the comments below
Canning Cranberry Juice
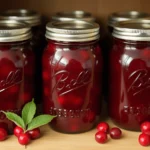
Learn how to make and can homemade cranberry juice with this easy step-by-step guide. This recipe ensures a fresh, preservative-free juice packed with antioxidants and natural tartness. Perfect for long-term storage and year-round enjoyment!
- 4 cups fresh or frozen cranberries
- 4 cups water
- ½ – 1 cup sugar (optional, adjust to taste)
Prepare the Cranberries – Rinse fresh cranberries or thaw frozen ones.
Extract the Juice – Boil cranberries and water for 10-15 minutes until they burst.
Strain – Use a fine mesh strainer or cheesecloth to separate the juice from the pulp.
Sweeten (Optional) – Return the juice to the pot, add sugar if desired, and stir until dissolved.
Sterilize Jars – Boil jars and lids for 10 minutes to sterilize.
Fill Jars – Pour hot juice into jars, leaving ½ inch of headspace.
Water Bath Process – Submerge jars in boiling water for 15 minutes.
Cool & Store – Let jars cool for 12-24 hours, then store in a cool, dark place for up to 1 year.
Storage :
- Refrigerator: Store opened cranberry juice in an airtight container for up to 7 days.
- Pantry: Properly canned cranberry juice lasts up to 1 year.
Expert Tips:
- For a deeper flavor, let the juice sit for 24 hours before consuming.
- Use a citrus juicer if you prefer a cold-pressed method instead of boiling.
- Adjust sugar levels to balance tartness according to preference.
